This guide is intended for getting started with the remote management service on Apple computers using the Anydesk software.
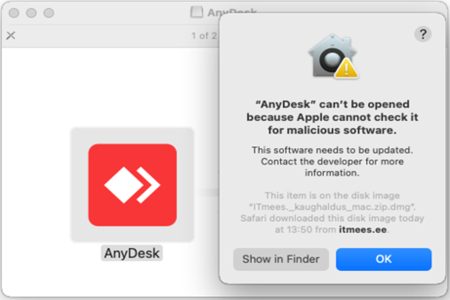
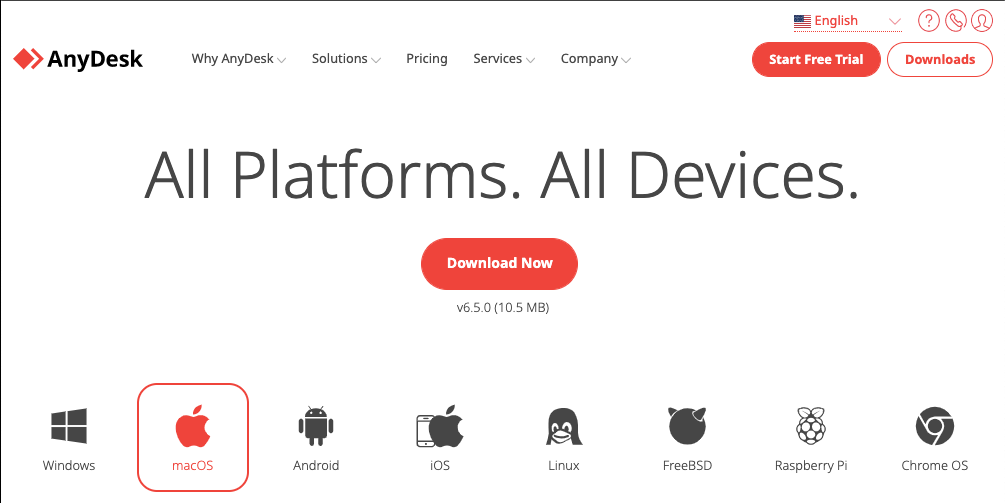
1. Download Anydesk software and running it, the following window will appear
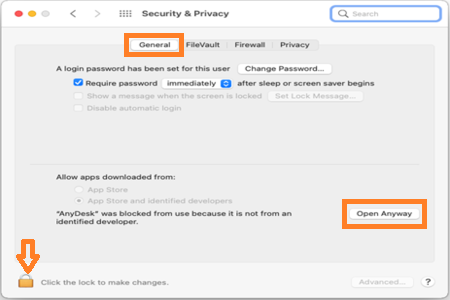
2. Open Security & Privacy (⌘ + Space and type in Security) or use the search function at the top right. Open General and press Open Anyway from the bottom
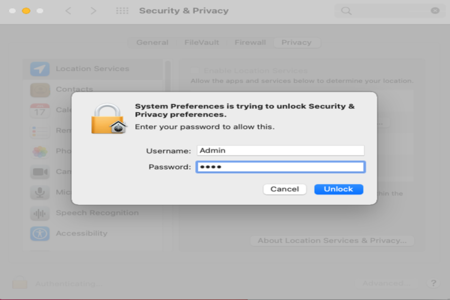
3. Once the above has been done you must grant permissions for the MacOS. Open Security & Privacy Settings and press the lock at the bottom left, then enter the password.
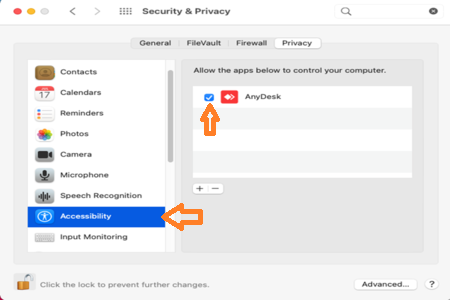
4. Rights must be granted under the Privacy tab to Accessibility, Screen recording, Remote input and Disk Access just tick the Anydesk box under those categorys.
5. If Anydesk icon is not visible in the right column, click the “+” sign below the right column.
The Finder menu opens, go to the Application folder and from there we open Anydesk.
You should now see the Anydesk icon in the right column, we’ll put a check mark in front of it
macOS 13 (Ventura) and beyond versions user interface and permissions have changed.
1. Download Anydesk software and start the installation process.
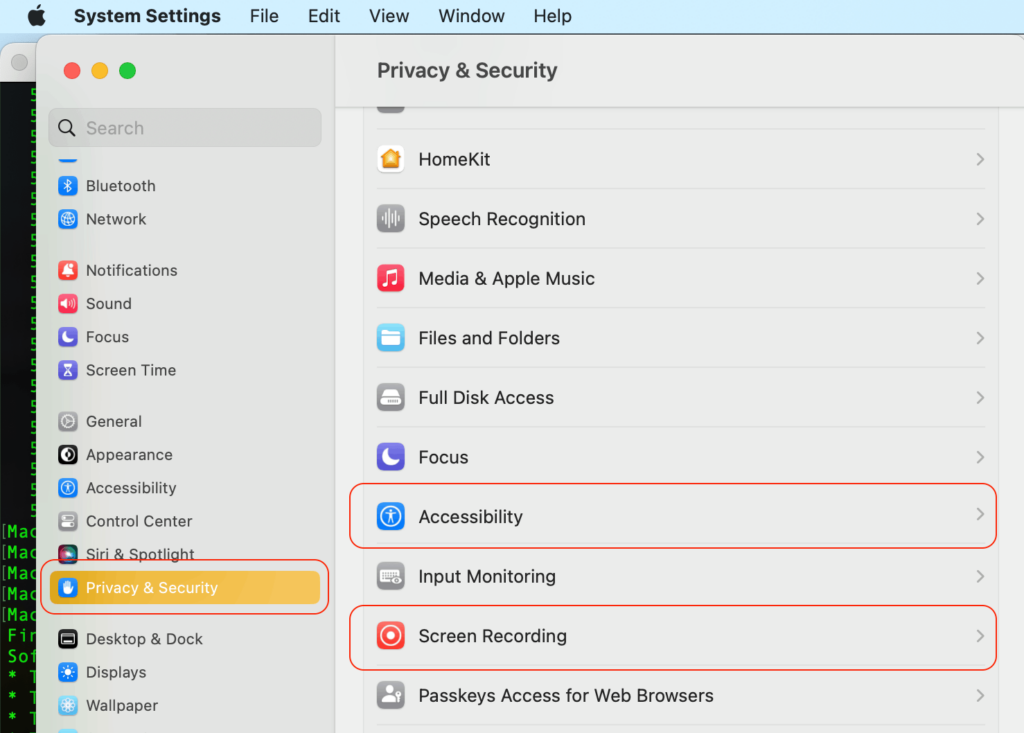
2. Open System Settings and navigate to Privacy & Security. Anydesk needs permissions from Accessibility ja Screen recording.
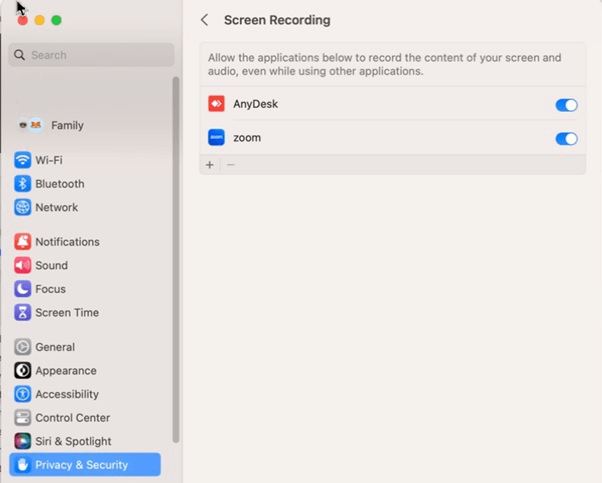
3. If there is no Anydesk icon on the right menu, click the + button.
Finder menu opens, navigate to Application folder and choose Anydesk.
There should be Anydesk icon present now, which can be activated.